TUTORIAL:

{Materials}:
- Onsie (just grab out of you child's closet - cheap :) ).
- Fabric Square (used for quilting, can make a dozen bowties out of one square)
- Washable fabric glue
- Bias tape
- Scissors
- Warm Iron
- Pins

{Bowtie}:

1. Cut a 4x3" rectangular piece from the fabric square. Fold into 1/3's length wise, using the iron to secure the edges. If you're using striped fabric, keep in mind the direction of your lines when you cut your rectangle.

2. Fold edges of your skinny rectangle into the center, overlapping a bit. Lightly iron edges for a crisp edge or leave for a more poofy bowtie edge. Secure the overlap with a dap of glue. If you want, place a pin as well until the glue dries.
3. Form the center piece of the bowtie: repeat step 1 and 2 but using a 2x3" rectangle of fabric.
4. (Sorry i forgot to take a picture of this step but its pretty straight forward).
Pinch the bow section in the middle to form a "W". While pinched, wrap the bowtie center around the middle of the "W" snuggly so that the fabric overlaps a little. Place a dab of glue over the overlapping center fabric. Push a pin through the entire center of the bowtie until the glue has set.

{Suspenders}:

1. {TIME SAVER}: Use bias tape as the fabric is wide enough and thick enough to look like suspender fabric. Its also already folded over so gives you finished edges. PLUS the glue won't bleed through, giving a clean look.
2. Start on the front side. Line up your suspenders with the tape beginning below the pant line. Use pins to hold in place. Flip onsie over and also pin on the down the back. Don't make the tape too tight over the shoulders or the onsie fold can't expand when worn.
3. {IMPORTANT}: Make sure you don't glue the tape over the folded shoulders as the onsie needs to expand over babies head. Use WASHABLE fabric glue. Make sure you put cardboard on the inside of the onsie to prevent gluing the sides together.
4. To make the back buckle, cut a rectangle of fabric and fold over each edge. Glue to the suspenders on the onesie's back where the suspenders would join together.
5. Let the suspenders dry over night before removing the pins and cardboard. (your glue's instruction's may vary).

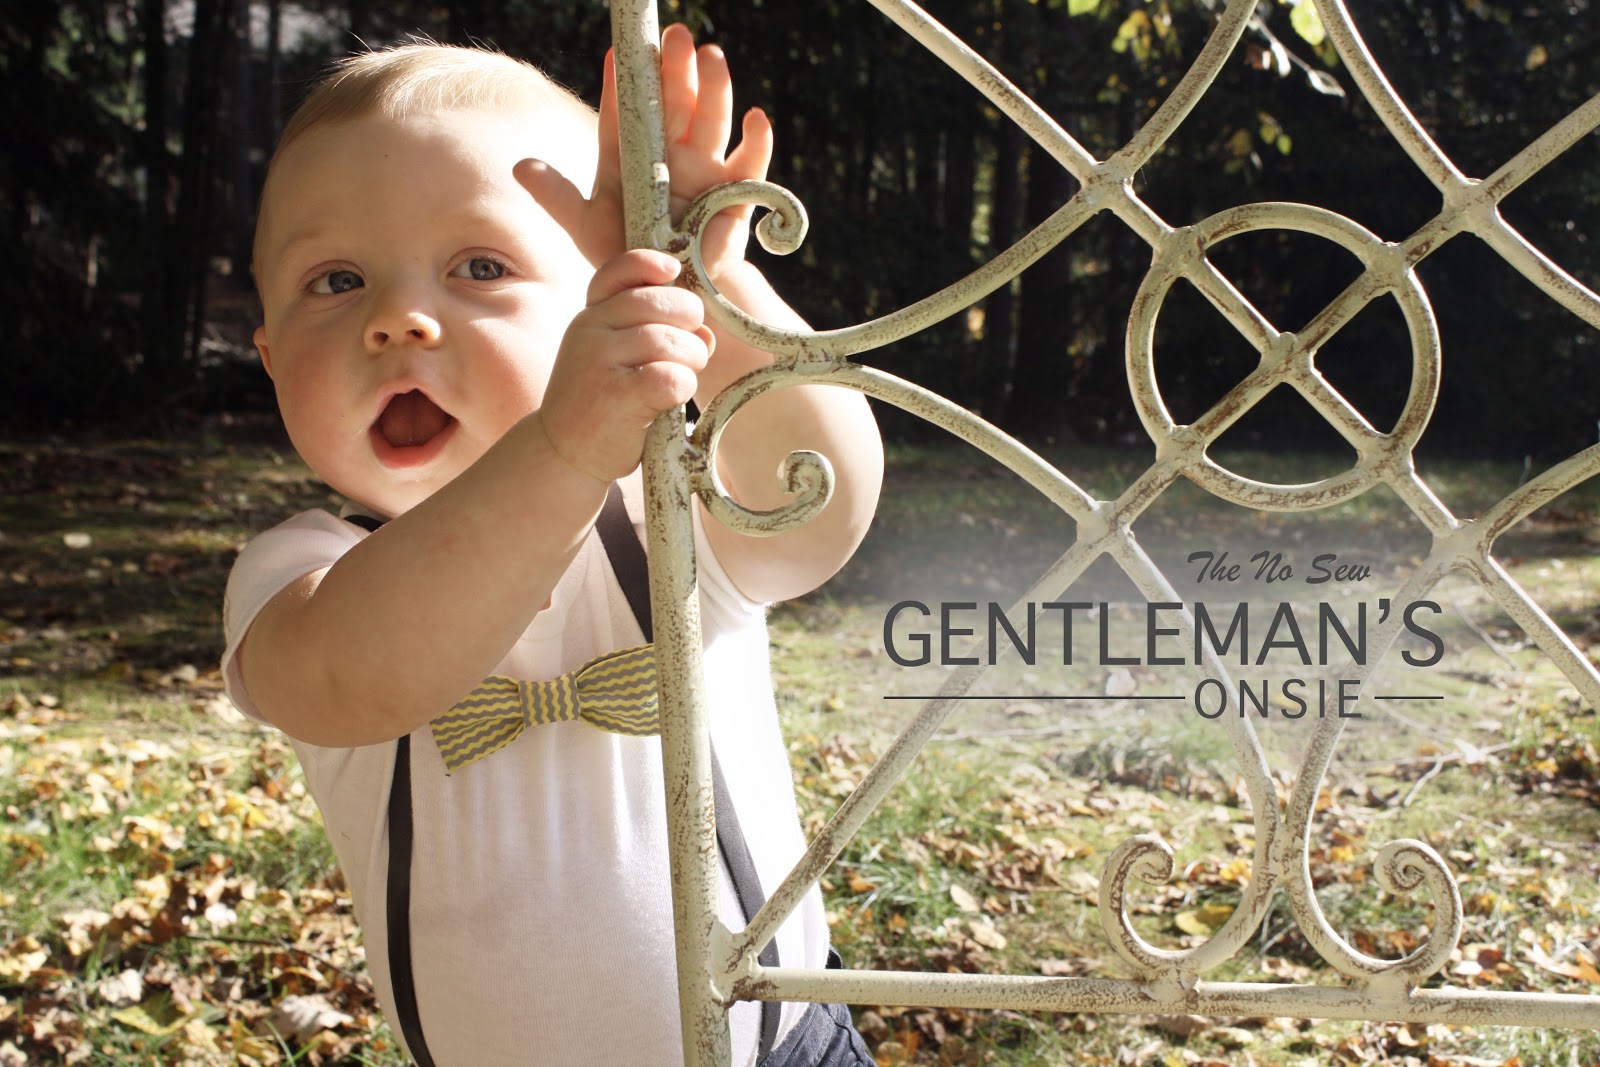
END RESULT: All smiles and a stylish explorer. Add a poor-boy hat, and the outfit is complete (getting baby to KEEP the hat on is another story :) ).
 |
| Having fun outside during the last warm days of Autumn. What a cutie! (biased of course) |
0 comments:
Post a Comment